クルマのAピラー曲面に半埋込 ツィーターマウント④

前回はEin Scanで3DスキャンしたAピラー曲面データでカットする方法を書きました。
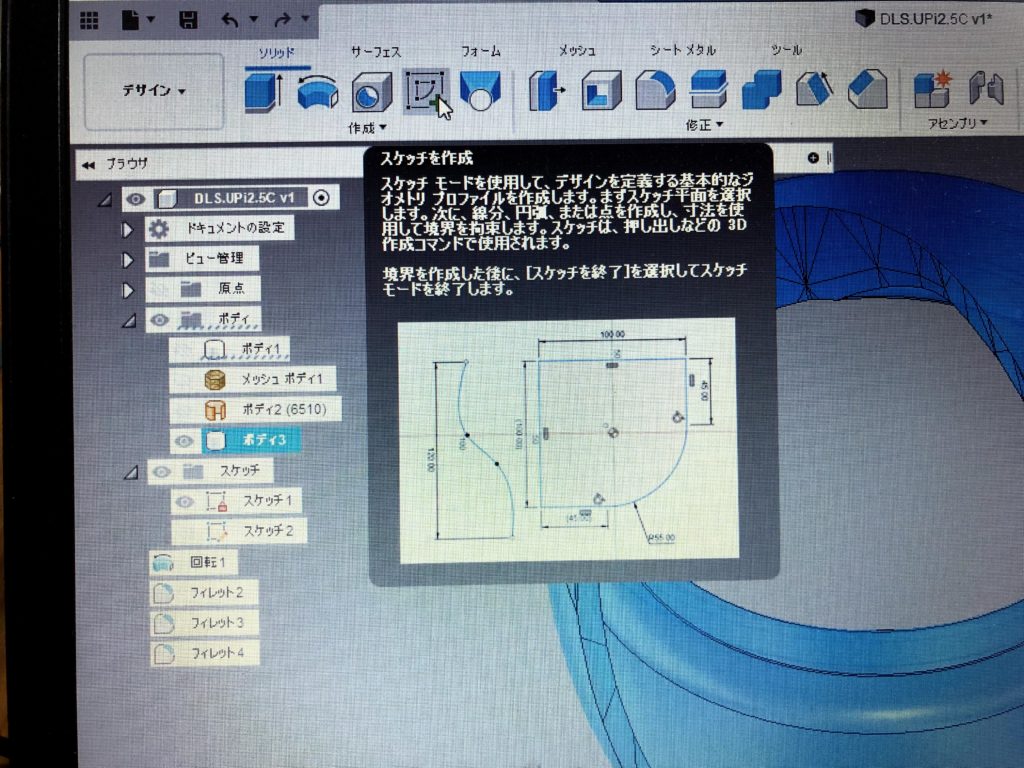
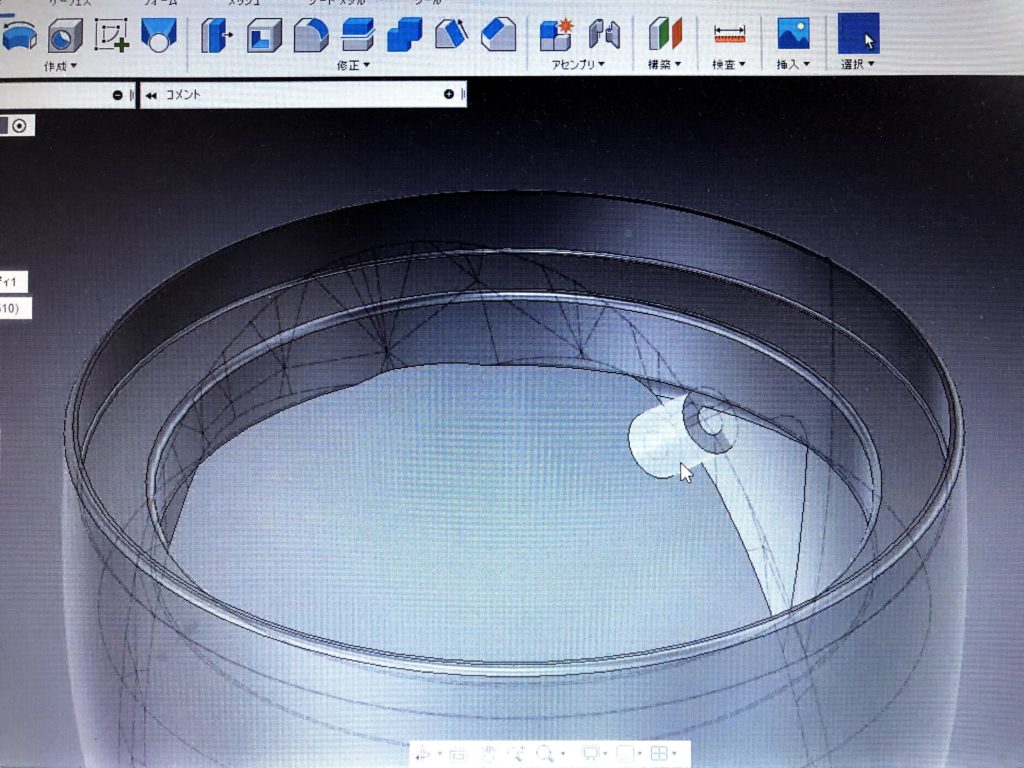
今回はそのモデルに固定用のフランジの付けるために先ずはスケッチをします。
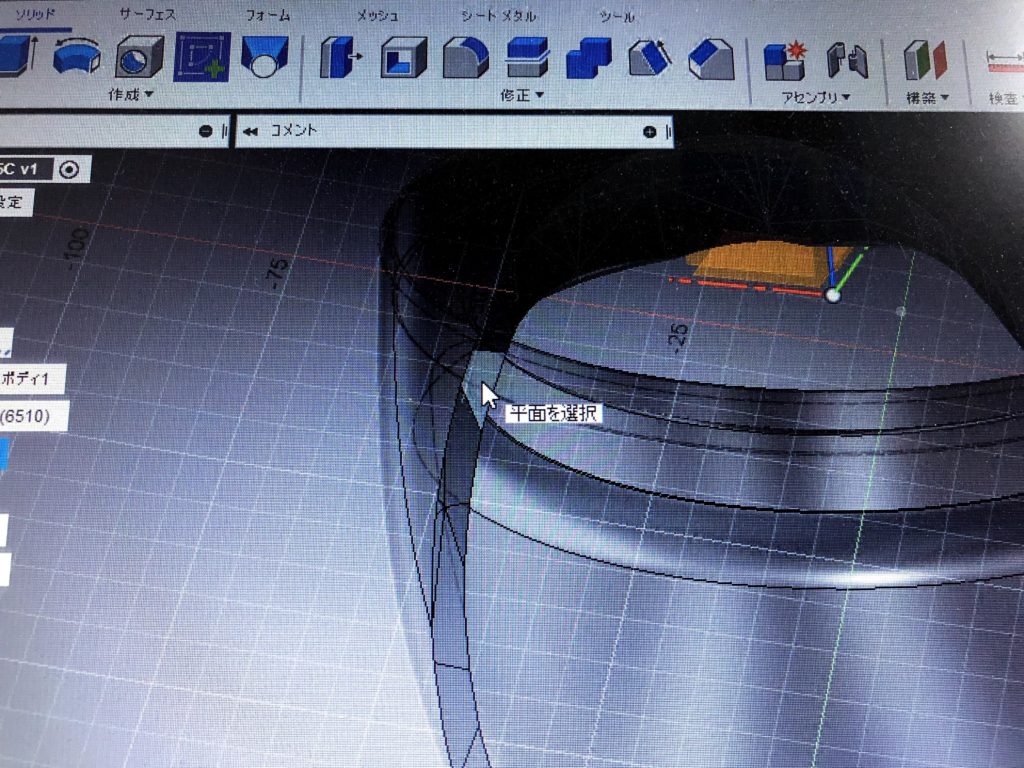
スケッチ面をフランジを付けたい平面を選択
全体のバランスを見ながら固定位置を考えて選択します。
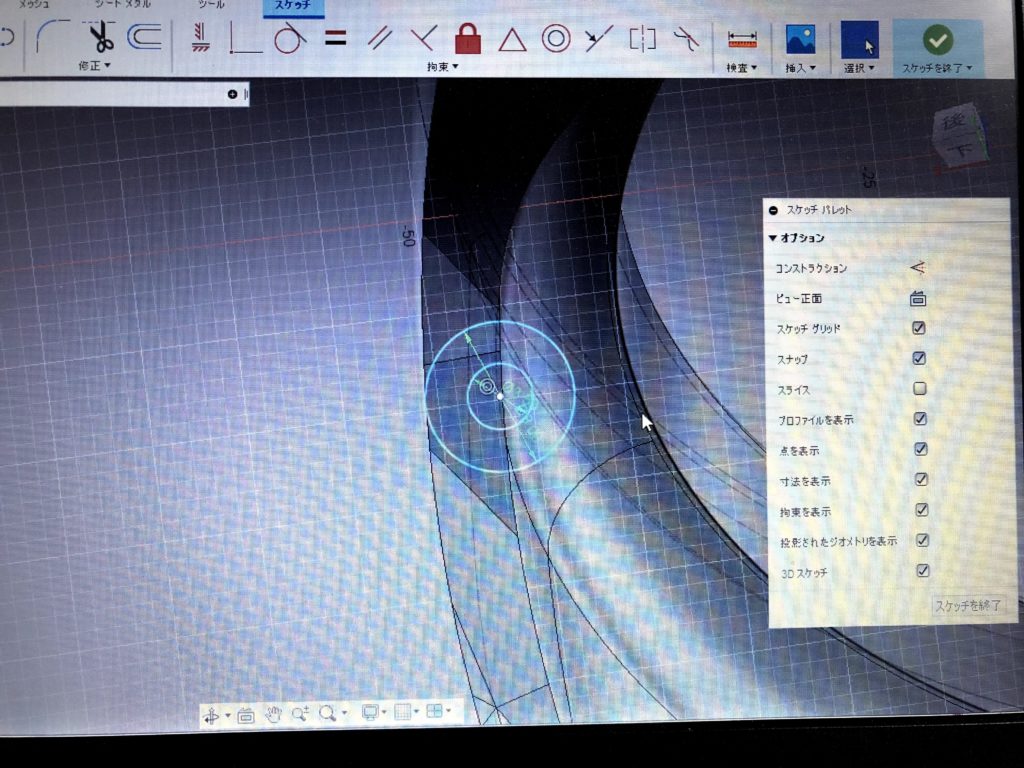
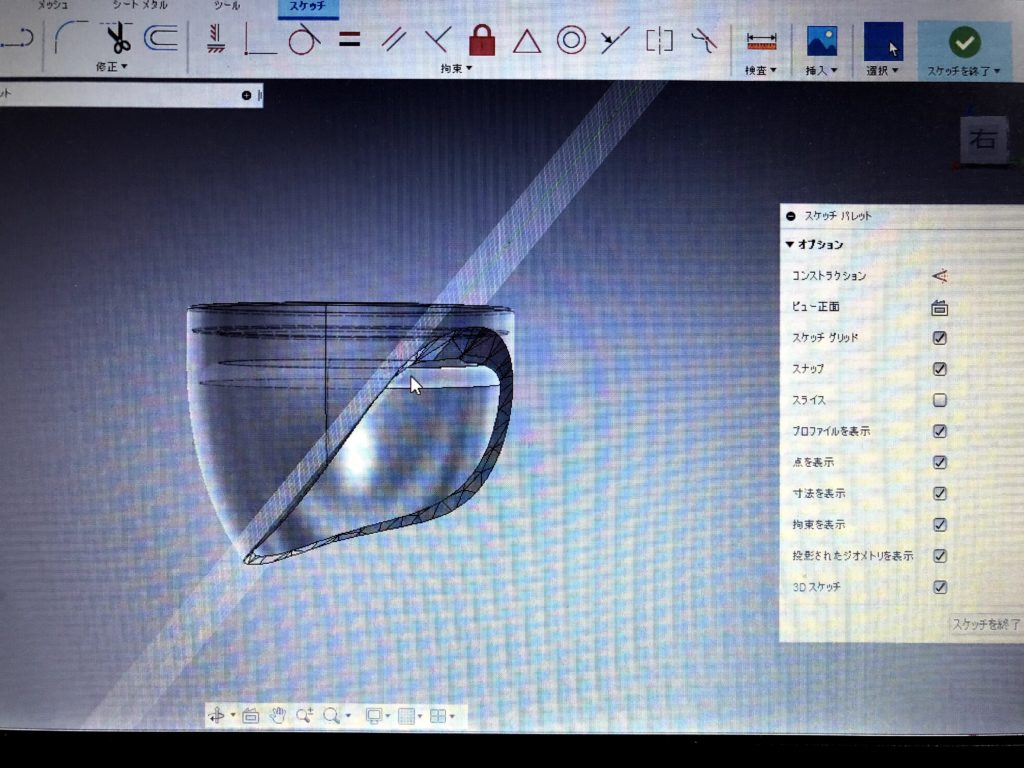
使うボルトに有った大きさでスケッチ
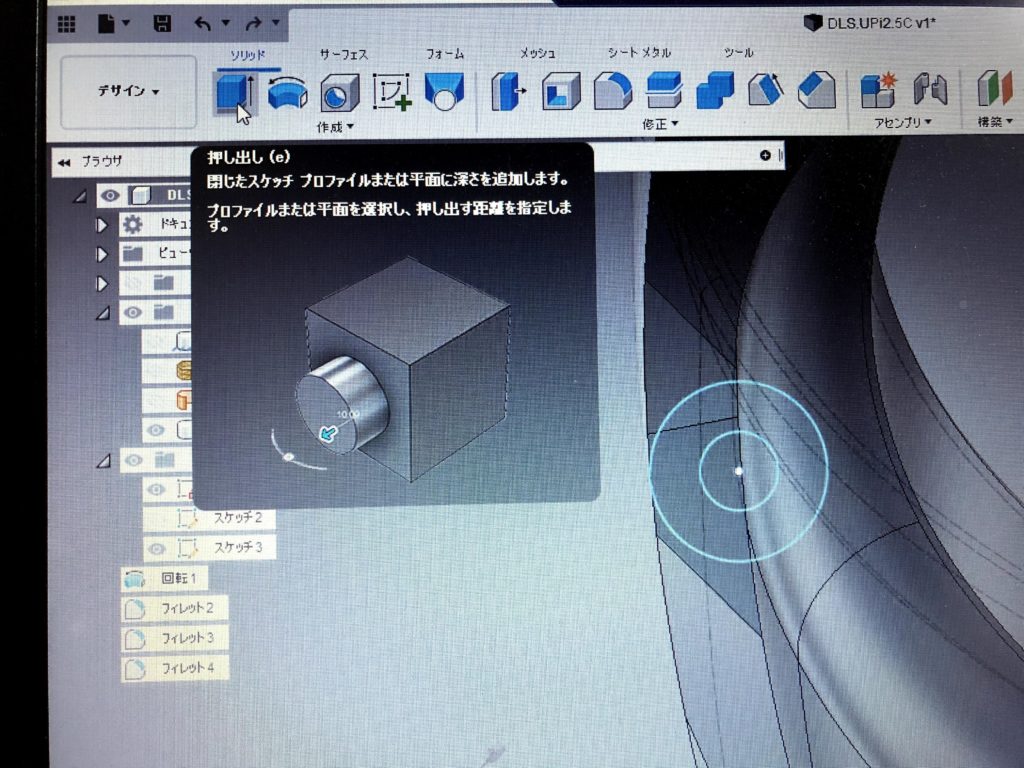
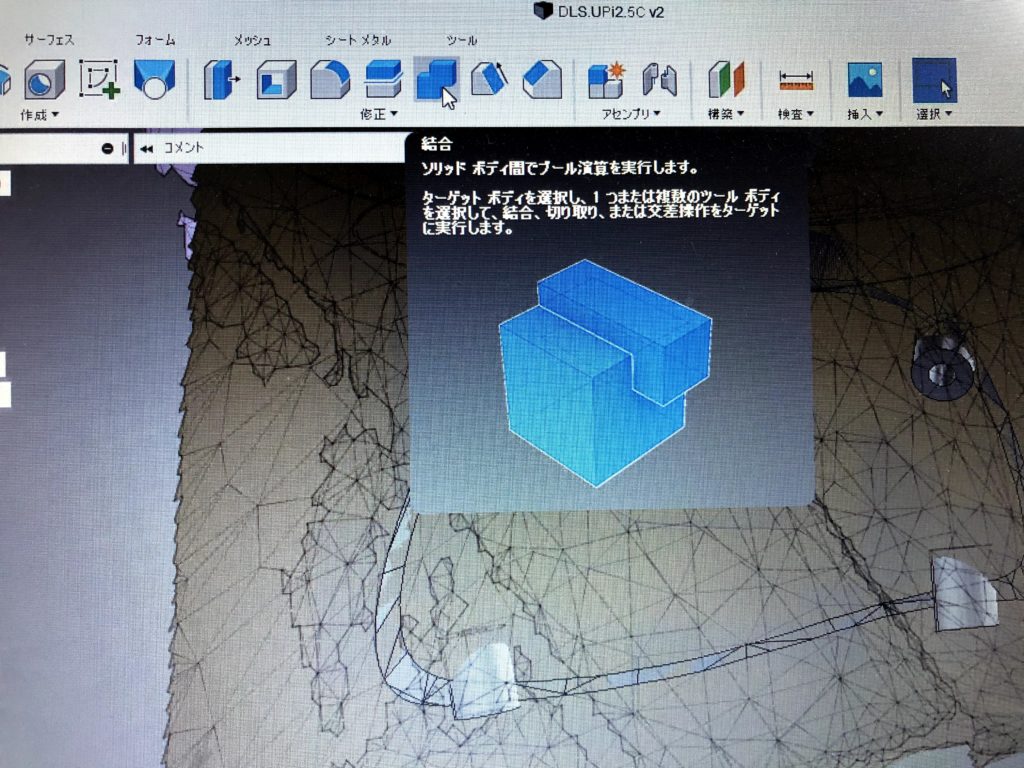
押し出しでソリッド化
結合させずに新規ボディで作ります。
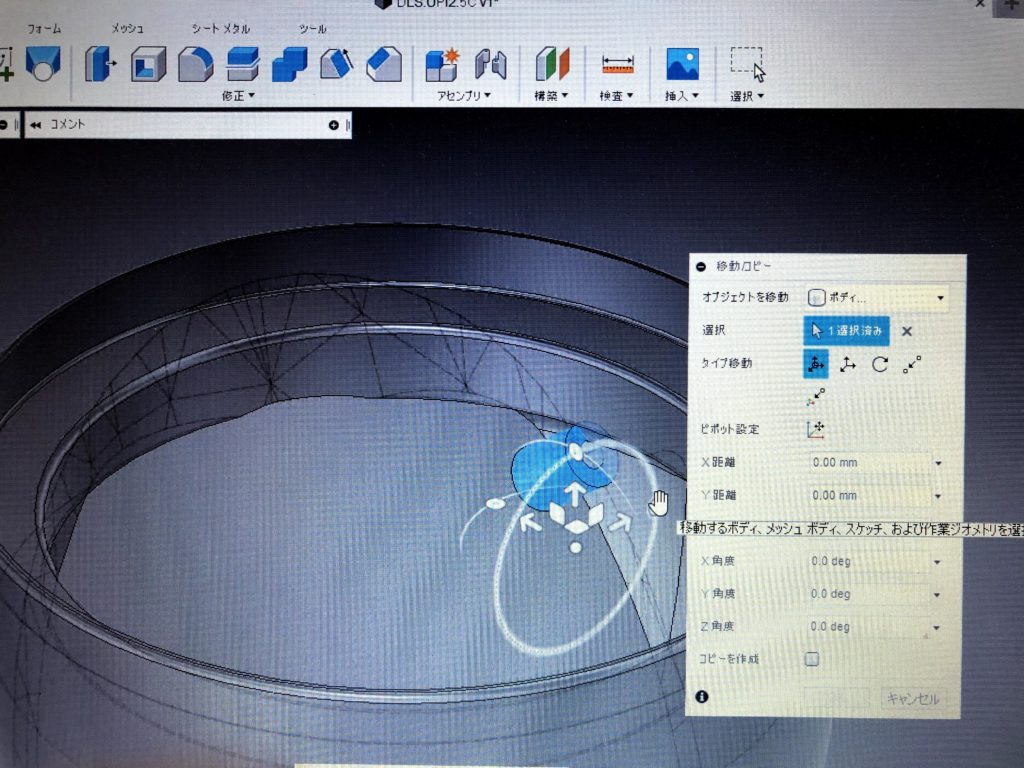
ピラー装着時にボルト固定する事を考えて現実的な位置と向きに移動します。
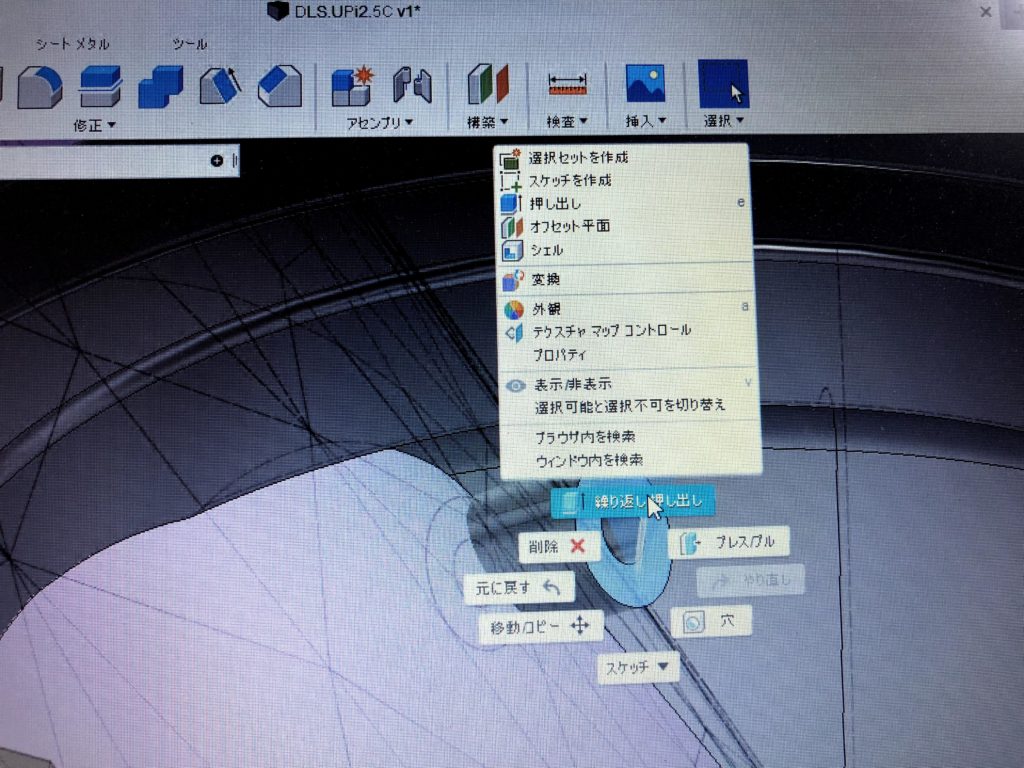
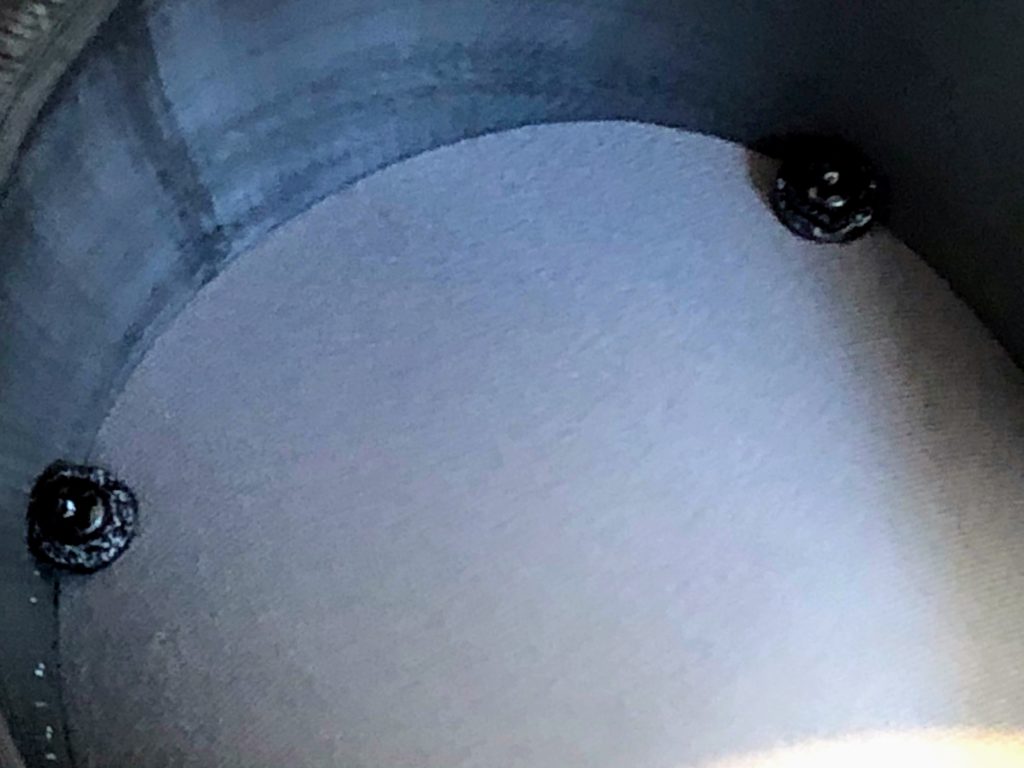
同じようにコピペでもよいので3,4か所フランジを付けます。
装着時にドライバーでボルトを締めこむ事を考えた位置と角度に気を付けます。
位置と角度を最終確認してからツィーターマウントと結合させて
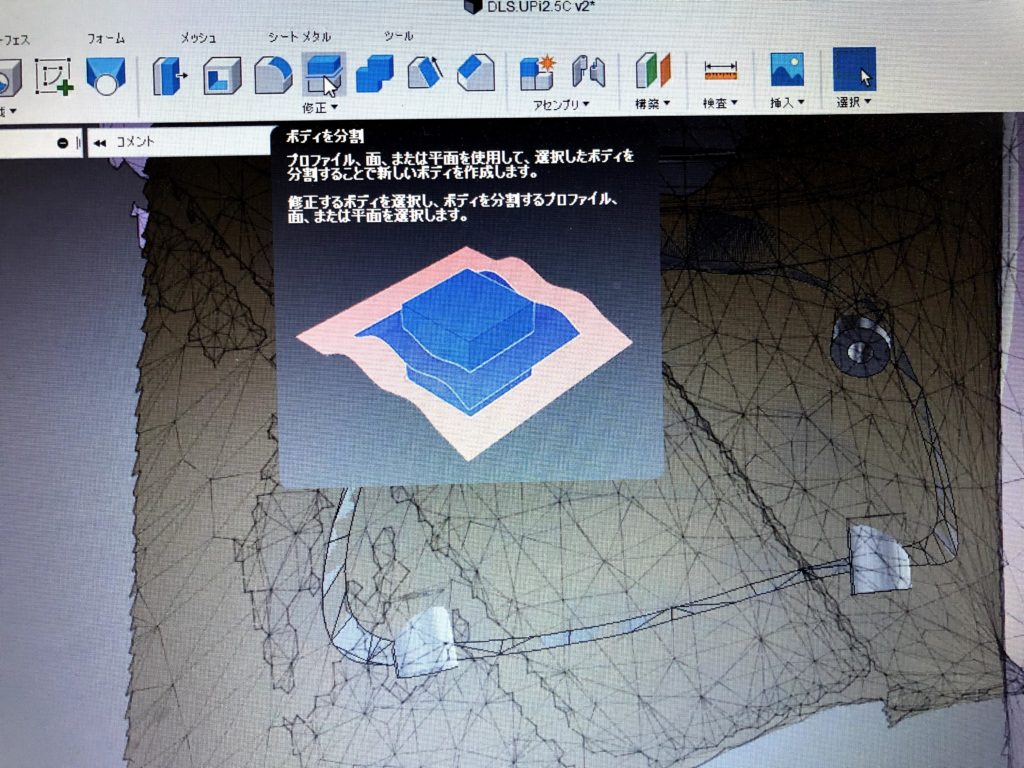
Aピラー曲面データでボディ分割させます。
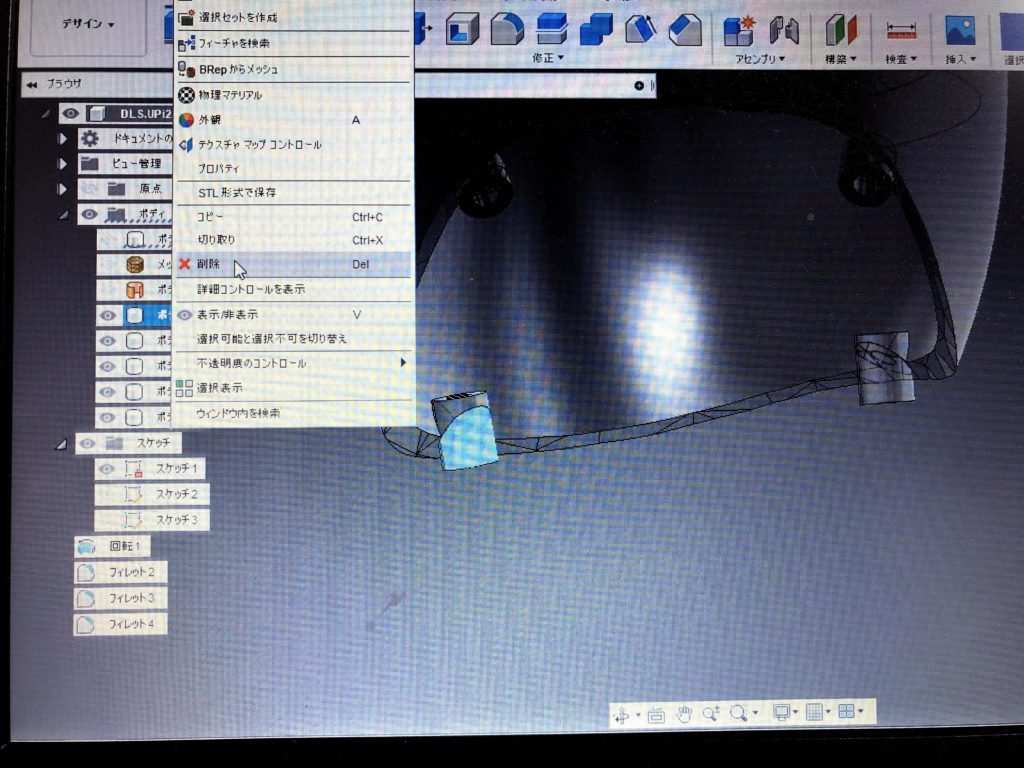
分割した下のボディ(要らない方)は削除か見えないようにしておきます。

これにて完成♪
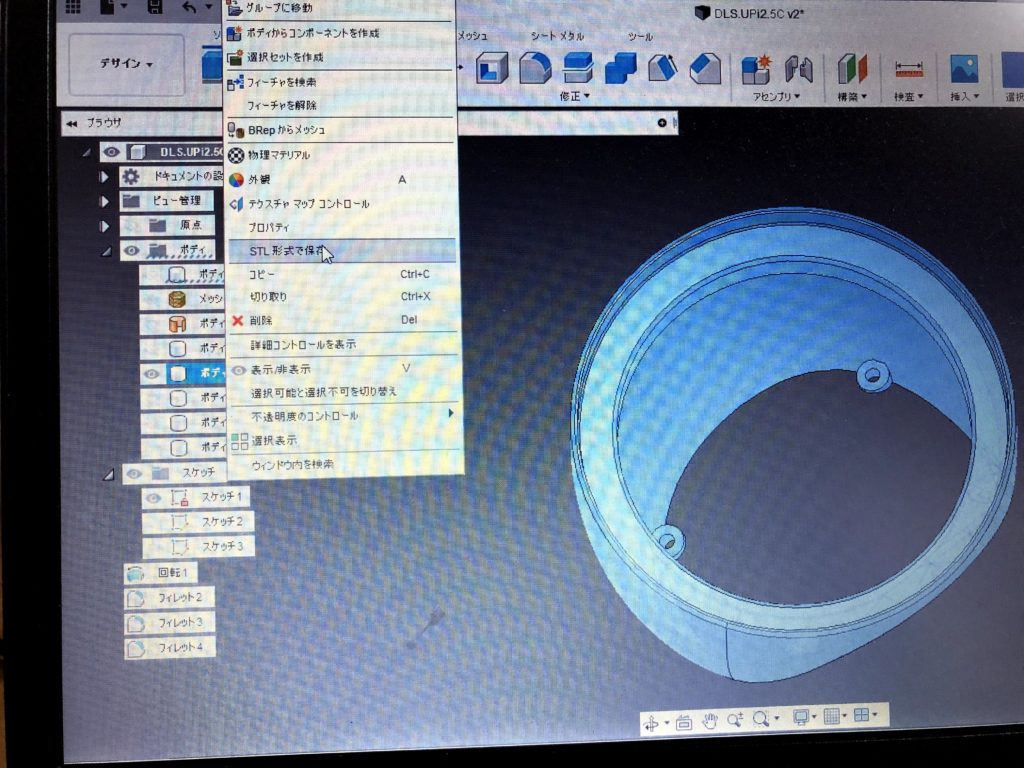
そして、3DプリンターRaise3Dへの出力は、出力したいボディを右クリックでSTL形式で保存
3Dプリンターソフトに取り込み

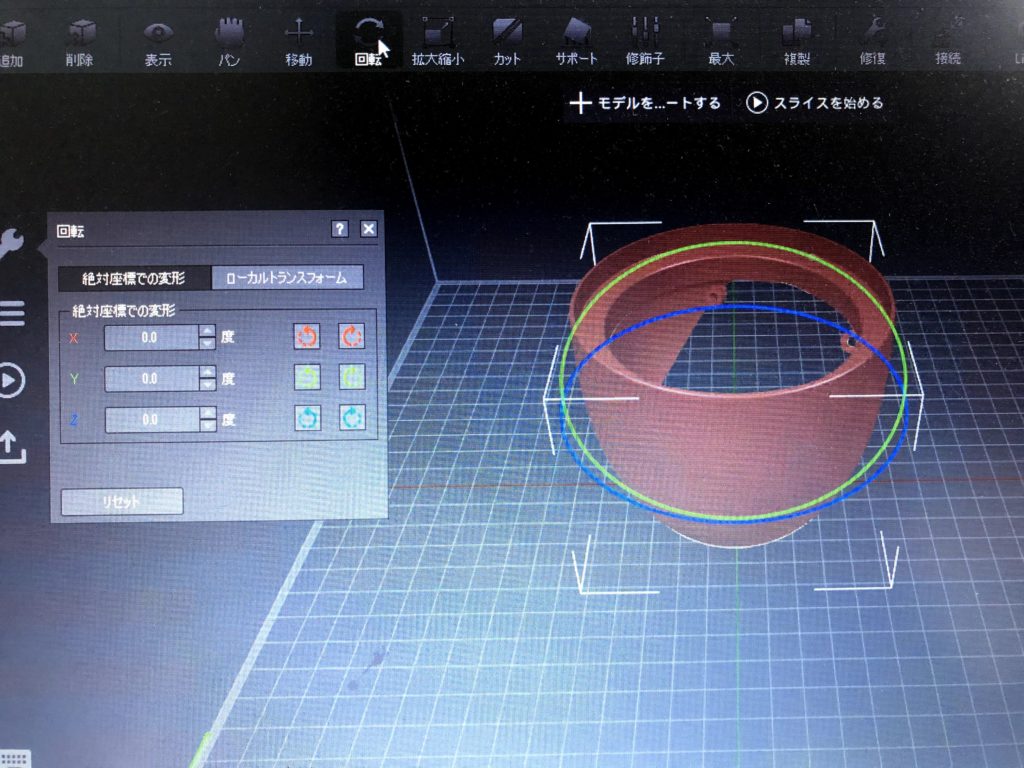
造形の向きを変えて見える部分をキレイに造形できるように
左右同じ形状のAピラーなので、もう一つはコピーして
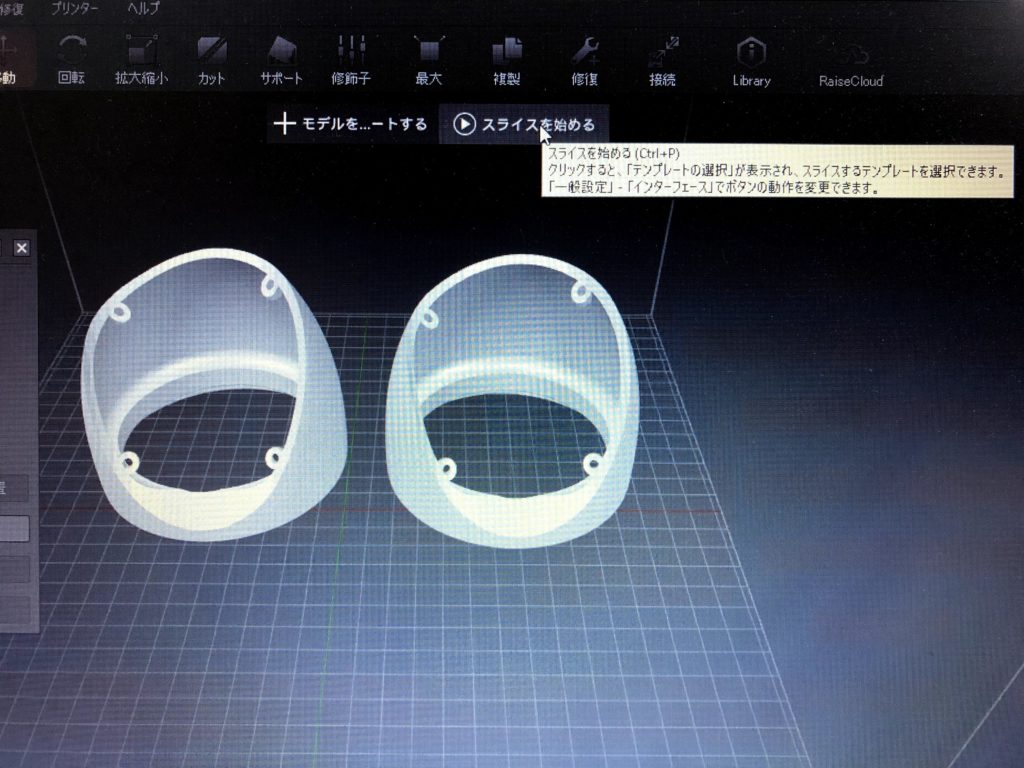
コピー後に反転させてミラーリング
それからスライスを始めます。
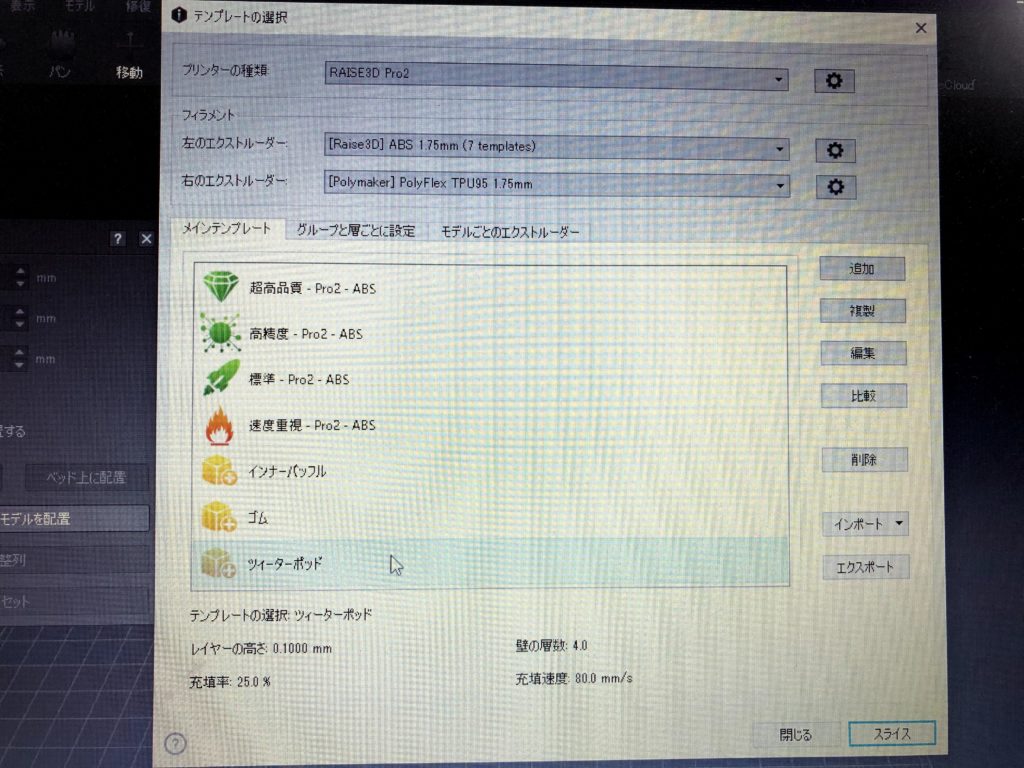
造形をどのように進めるかを設定
この部分も非常に奥が深く設定項目が多いので今回は割愛
また個別のパターンでのパラメーターなどの説明は別の機会に
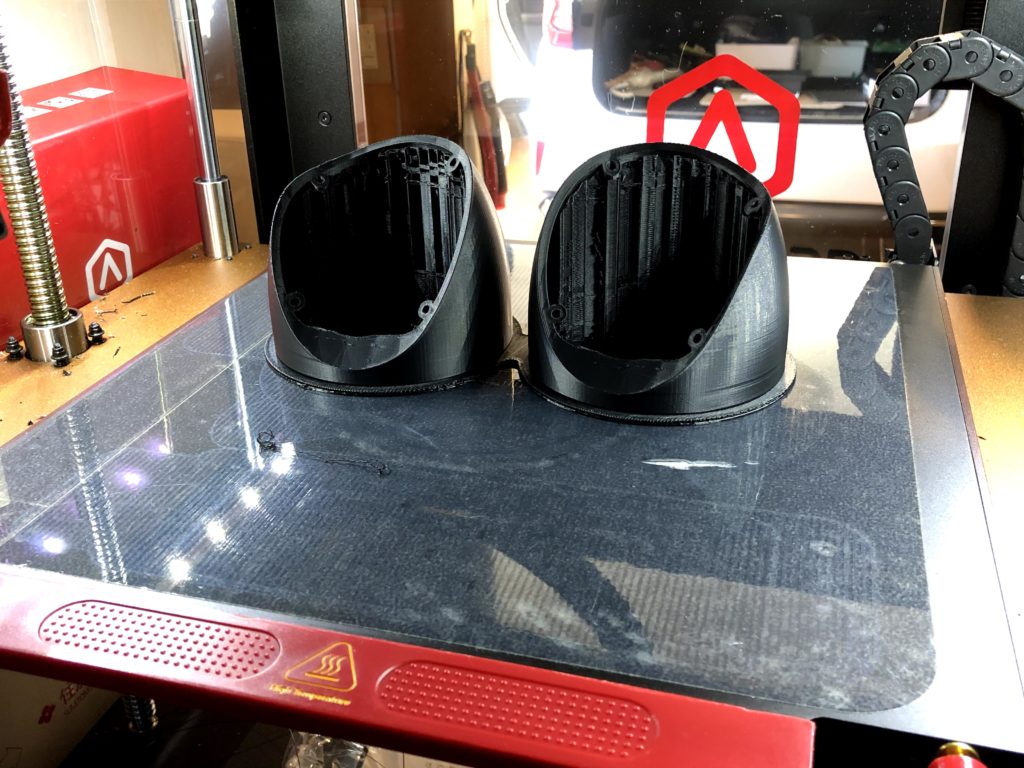
朝には完成♪
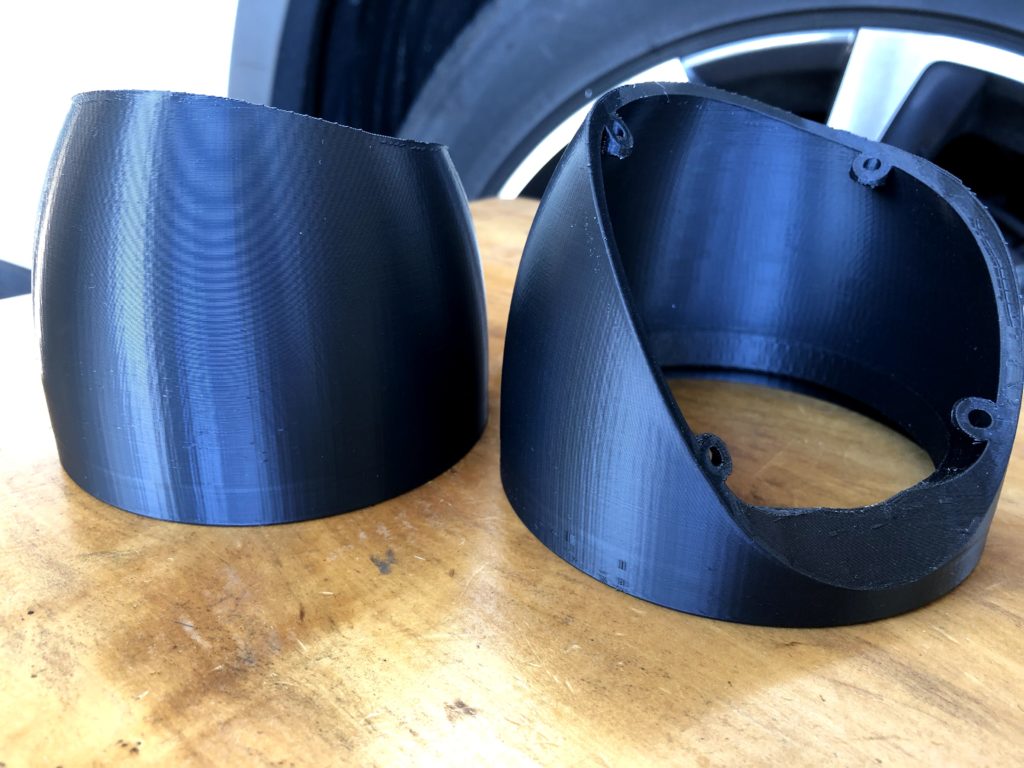
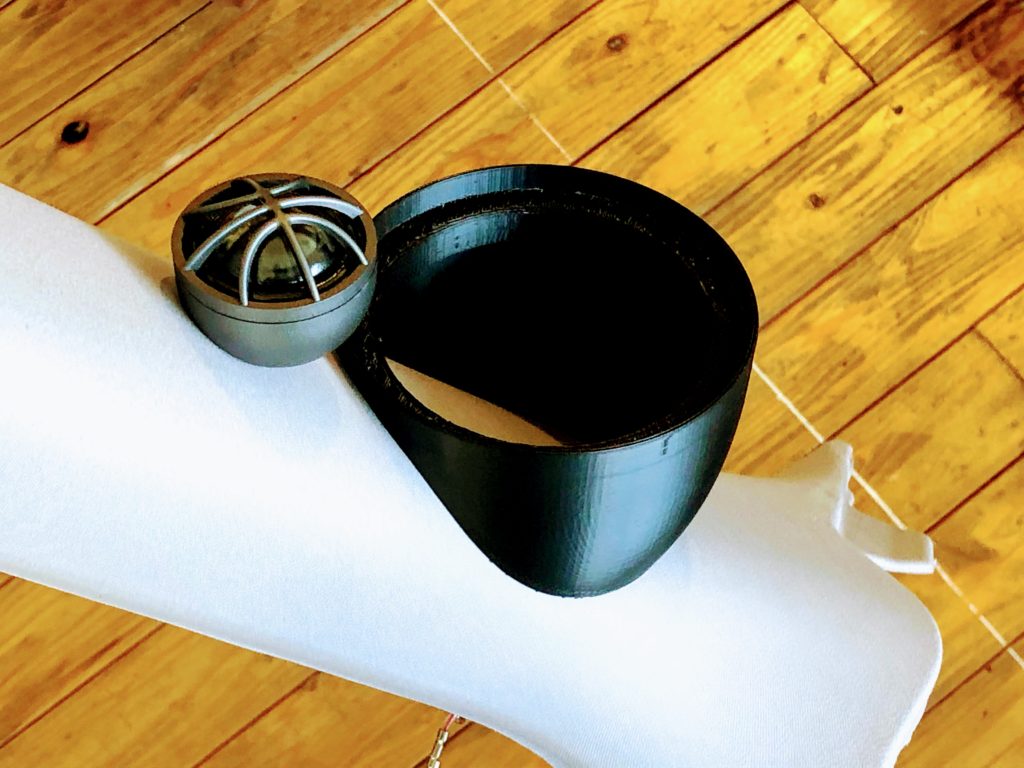
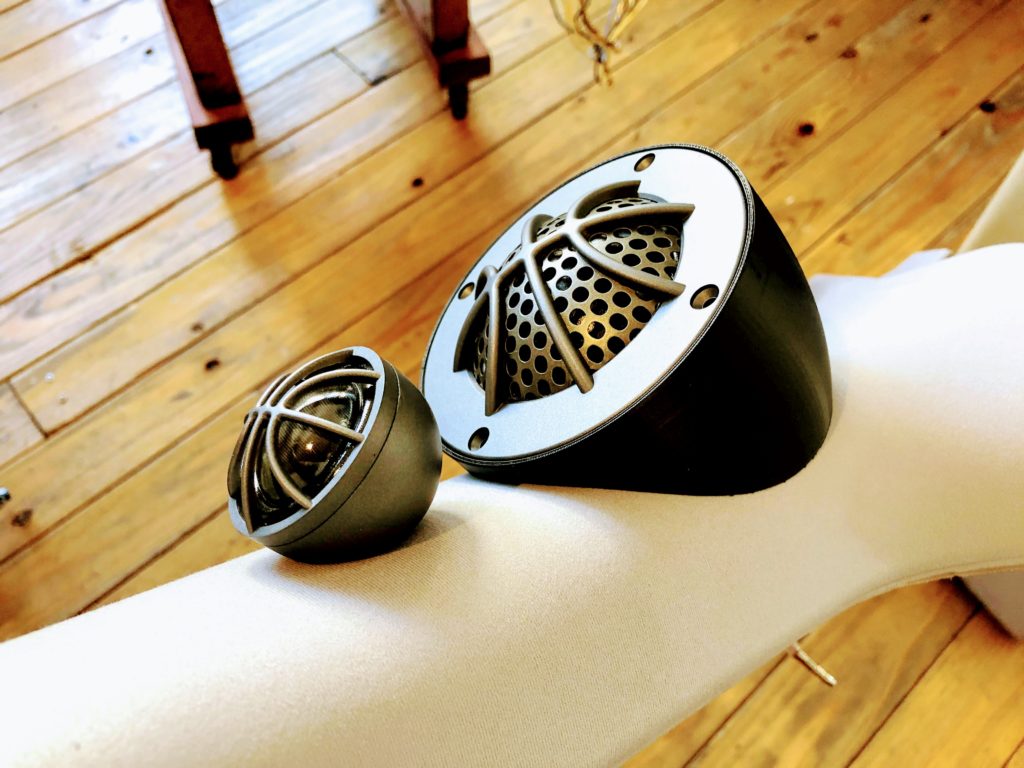
ボルトでしっかりと固定出来るので強度は十分
共鳴しないようにデッドニングもしています。
高価なスピーカーを取り付ける上で、最適な位置と角度に手軽に製作できるコスパの高い方法として当店では人気の手法となっています。